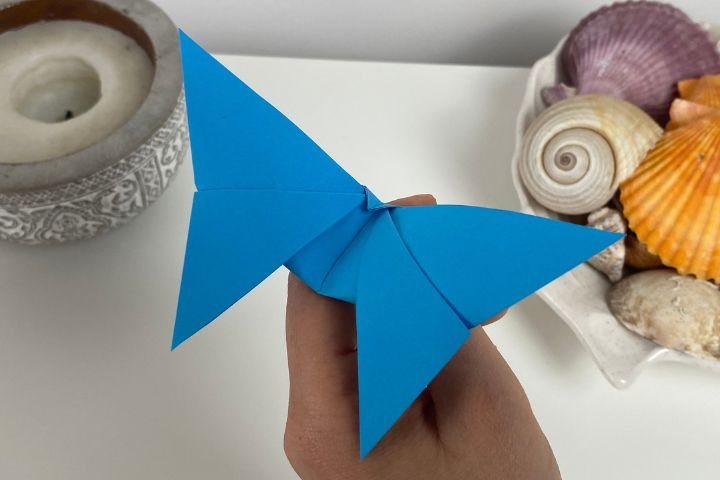
How To Make An Easy Origami Butterfly (8 Steps)
Butterfly is an origami model that origami lovers enjoy making. It’s pretty simple to fold and looks great! You can create wonderful visuals by sticking it on the walls. Origami butterfly can be a part of your home decoration.
Come on, get carried away by the magic of paper and discover how to make this unique origami butterfly! 🦋
Paper size: 15×15 cm
Steps: 8
Difficulty: Easy
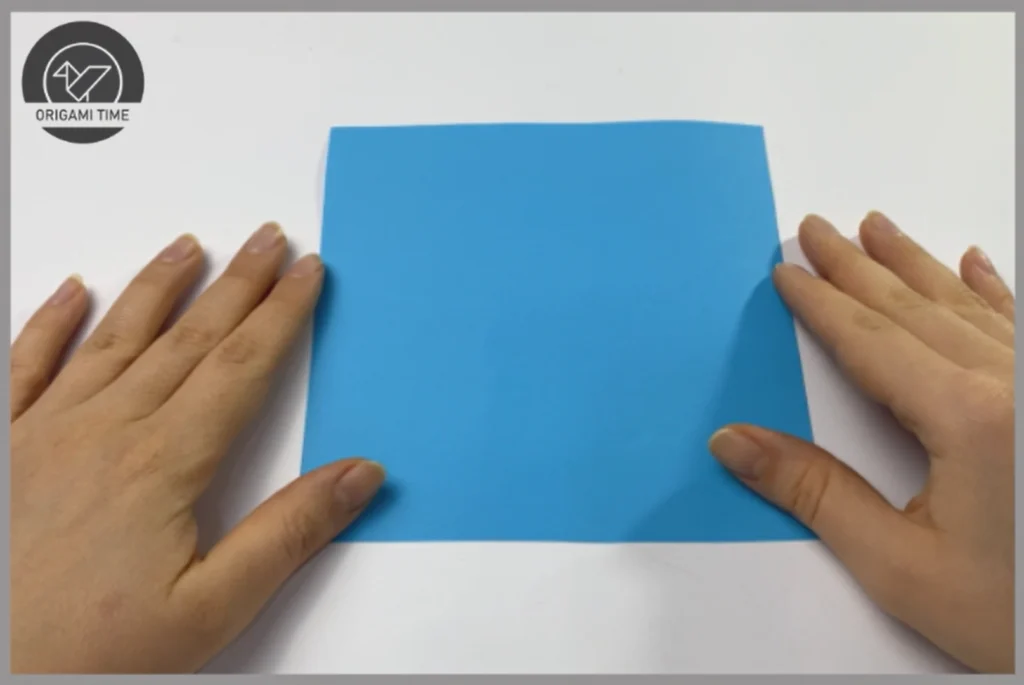
Step 1: Let’s start by taking a piece of paper measuring 15×15 cm. You can use any size square paper you want. How to make square paper?

Step 2: Fold the paper at both corners as shown.
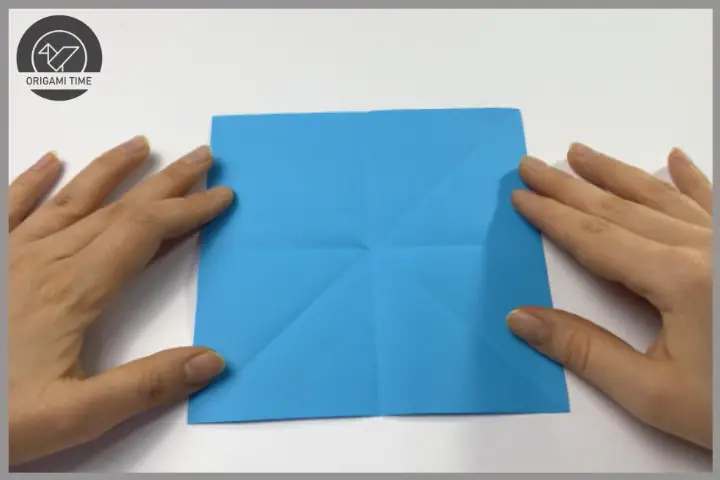
Step 3: First fold in half from right to left. then unfold the paper and fold it in half from top to bottom.
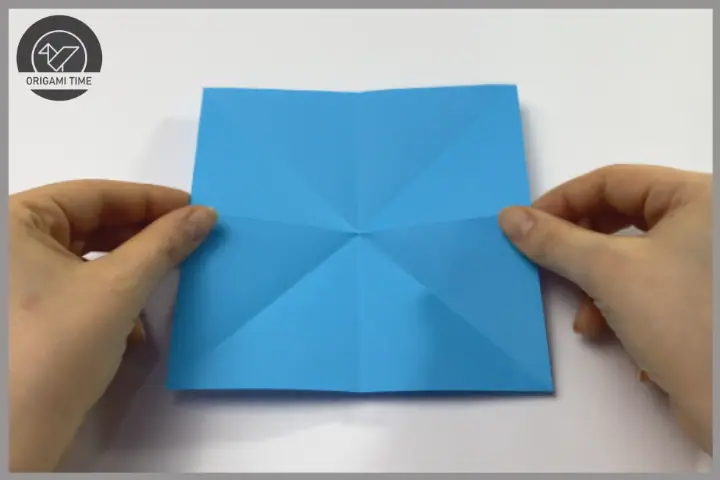
Step 4: Follow this step carefully. Hold the paper by both sides as shown. Then fold it inward. Close the paper by folding it at the top.

Step 5: Turn the paper over and position it as shown.

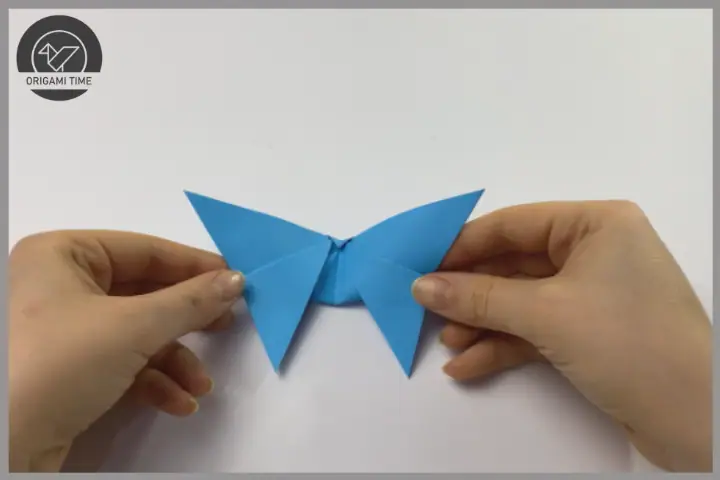
Step 6: Separate some part from the right side and fold it downwards. Do the same for the left part. Make sure it is symmetrical.

Step 7: To perform this step, take the paper from the table. Give the bottom part a curve towards the opposite side. Secure the paper by folding it at the end.

Step 8: Give the shape as shown by pressing the middle part of the butterfly. It will make the origami butterfly more durable.
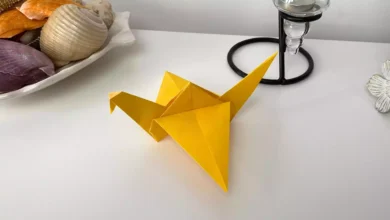
Origami butterfly is complete! It is now ready to decorate your walls :) See you in the next origami model…